


Like Photoshop, Lightroom has a History feature that shows a list of the fixes you’ve applied to an image. It can be used to wind back changes that you have made to an image. Unlike the Photoshop history, the LIghtroom history entries don't disappear when you close Lightroom - they remain accessible from one instance of Lightroom to the next.
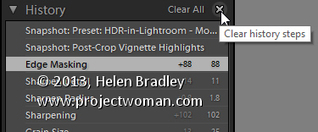
The History panel is on the left in the Develop module. Click to open it and you'll see a list of the edits made to the image. These read from bottom to top so the topmost history setting is the one you applied last to the image. These History settings show not only the sliders you adjusted when editing the image but also the final value of that slider and the amount of change you made at that step.
Delete History:
You can delete the Lightroom history for any selected image. To do so, click the X (Clear All) button in the top right of the History panel. This removes the history steps from the History panel - it doesn't actually remove the edits from the image - it just clears the History panel.
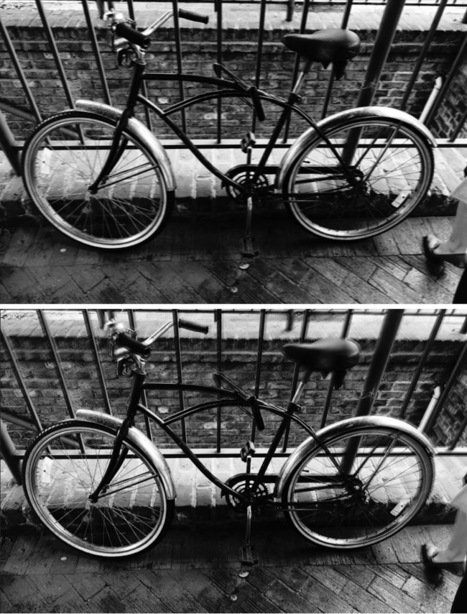
You can set the Before version of an image to be the image as it was at any earlier History step. To do this, right click the History step that shows the image at the point you want to make the Before image and choose Copy History Step Settings to Before. If the most recent history step isn't selected, select it to return to the current state of the image. Now, when you press the Backlash key you will compare the curent state of the image with the selected history state.


 Your new post is loading...


3 Lightroom History Tips...I bet that may have slipped your mind. What tips should I know about Lightroom History? Deleting your history is a common sense, but creating a vitual copy may seem second nature. But we forget.