


The first three things to learn in Adobe Lightroom when getting started in photography.
It helps to know that nothing you do in Lightroom is permanent. Until you export the photo you can make as many changes and adjustments to it as you want, and you can always step backwards. Once you export the photo it becomes a separate file (typically JPEG), and the original RAW file is always available for further editing or to return back to its original state.
During post processing, you will usually make a series of adjustments. In the “Develop” module you can step back to undo just the last change you made by clicking on the “Previous” button. To return the photo to its original state simply click on the “Reset” button. This is a fantastic way to safely experiment with the various capabilities available in Lightroom – just start clicking around and playing with the various sliders and see how they change your photo. Export to keep the effects you like, and hit “Previous” or “Reset” to start over.
Budding photographers will tackle white balance and exposure correction as they practice their newfound skills. I wrote about tone and exposure settings in this recent article, so let’s talk about white balance.
We’ll often shoot in “Auto” white balance mode to make things easier on us, since we know we can always correct it in post-processing. Colors, shadows, saturation, brightness and tone can all be impacted by white balance. In Lighroom, the white balance menu has eight settings to choose from, plus a setting for custom white balance.


 Your new post is loading...
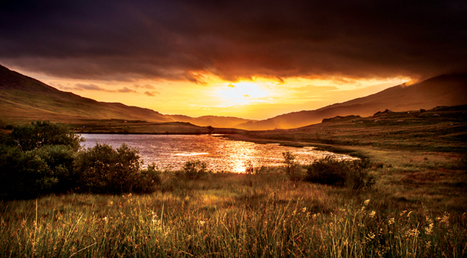


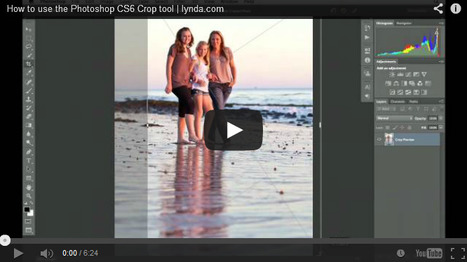


There are always those first couple of baby steps we should take when it comes to Photoshop. And with Lightroom, the only difference is you'll be focusing on histograms and balancing out tones. The last step is the most crucial because learning how to crop a photo properly without loosing the main focus of the subject...can be a tough call.