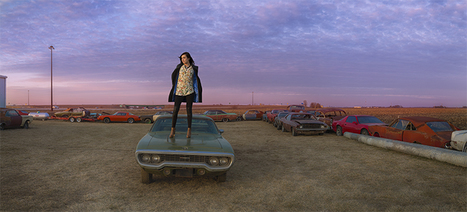
In part 1, we covered the process of building the best panoramas with little distortion by finding the no parallax spot in your lens. In part 2 we add in our model and use curves and levels to colorize the sky in Photoshop.
Get Started for FREE
Sign up with Facebook Sign up with X
I don't have a Facebook or a X account


In part 1, we covered the process of building the best panoramas with little distortion by finding the no parallax spot in your lens. In part 2 we add in our model and use curves and levels to colorize the sky in Photoshop.

 Your new post is loading...
 Your new post is loading...
Your new post is loading...
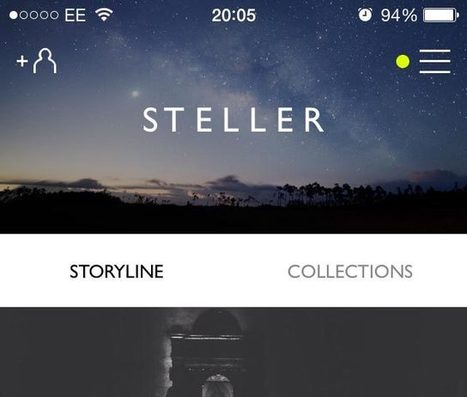
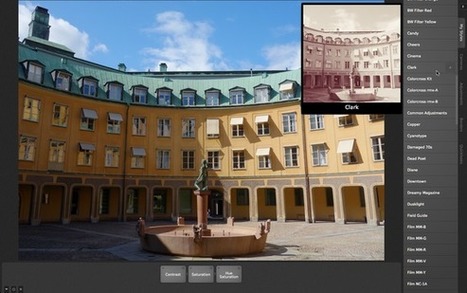
Create beautifully designed, magazine style ‘visual stories’ through a combination of photos, video and text.
Kitty Fisher's insight:
Visual stories are a simple but effective way, take this app called Stellar. Cascading a magazine style that feels reminiscent of modern meets perfection within minimalistic.
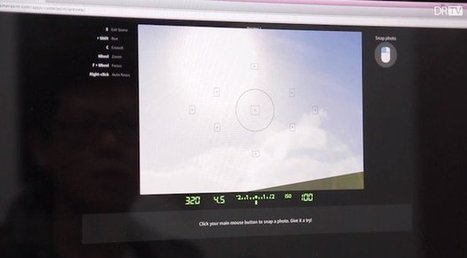
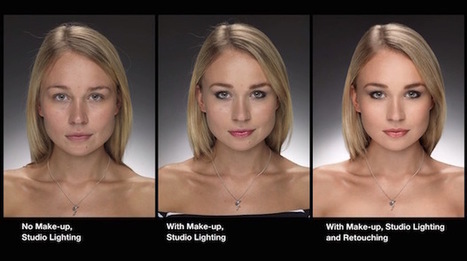
Photography is a hobby that generally takes plenty of hands-on experience to nail down. Sure, the basics of photography, such as composition and the exposure triangle can be learned through reading and research.
Kitty Fisher's insight:
DigitalRev put to the test if it where a possibility to become or learn about photography without ever getting up out of a chair.
From
weeder

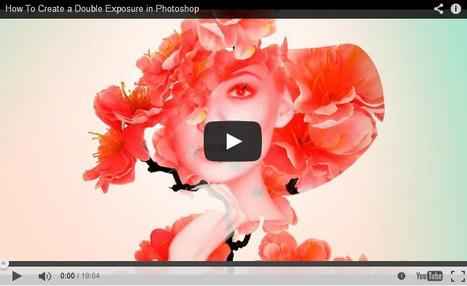
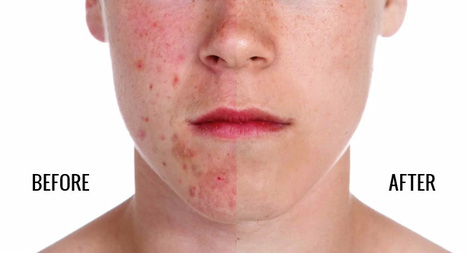
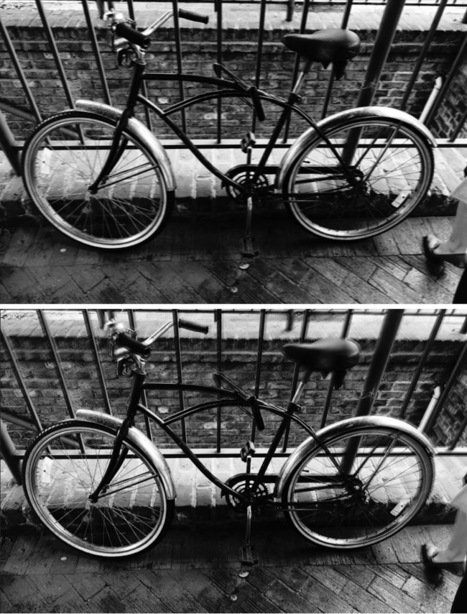
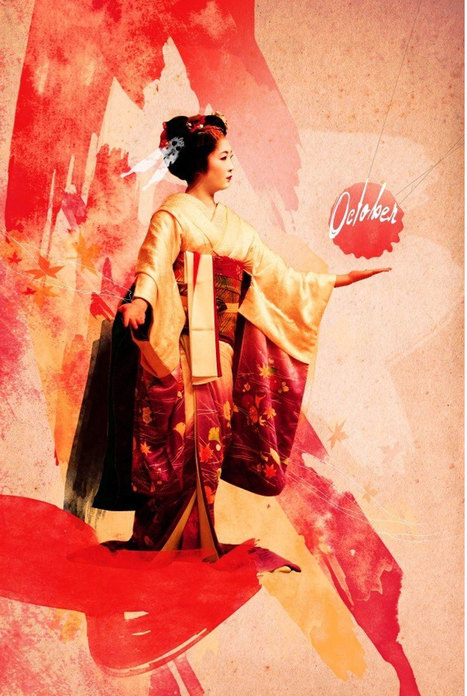
In this brilliant tutorial from Phlearn, Aaron Nace shows you how to create an artistic, composite image to replicate the double exposure effect. Despite being a little complex, the instruction is easy to follow.
Kitty Fisher's insight:
Double exposure use to mean seeing that image on film. With Phlearn they show you how to find a way that brings beauty and artistic ability to a very cool effect.
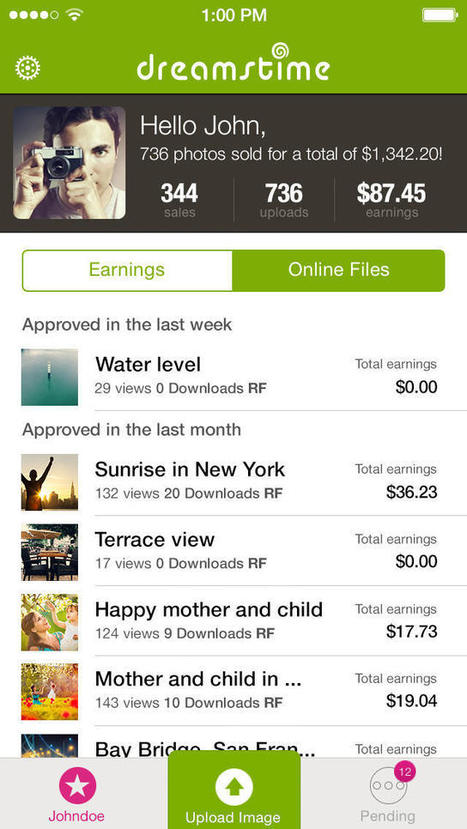
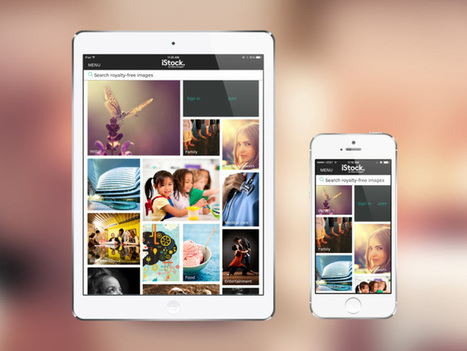
The Dreamstime Companion is designed for both pro photographers and amateurs, allowing them to instantly upload and share images from mobiles
Kitty Fisher's insight:
Perfect for the world of journalism. That 'in the moment' look is where it may all be at and now this app Dreamstime wants everyone to photograph that exact moment.

Photo-editing startup Over is all about inspiration. Just follow its Instagram account and you'll find a range of motivational -- often quirky -- images overlaid with memorable quotes. But it's not just the product that makes a lasting impact.
Kitty Fisher's insight:
Behind the start up photo editors that we come to love, are the stories that led to the grand moment in life that changed their life to head down the path that made them who they are.

Clipping Path Specialist's curator insight,
March 24, 2016 6:47 AM
Behind the start up photo editors that we come to love, are the stories that led to the grand moment in life that changed their life to head down the path that made them who they are.
|
|


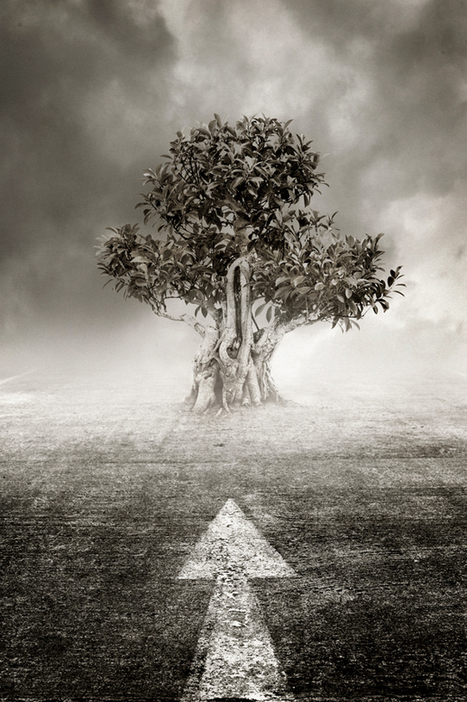

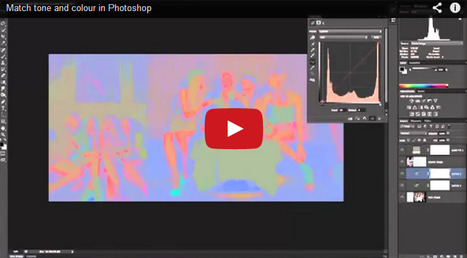

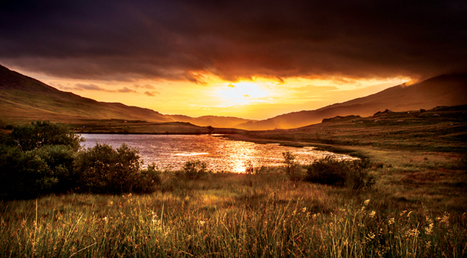


Since this is a two part process, we highly suggest watching the first part which is on this article as well, and then the second. Here you'll learn the how to add in a model but mainly to focus in on the colors that not only make the image have more of a story. But the photoshop skills are simply perfect, it looks as if the photo was taken as is.